Nov 30, 2013

Crafty bone on Thanksgiving

There are so many wonderful things that happen over a Thanksgiving weekend - family gathering, chats, cooking together...  you name it! 

Sometimes, I wonder if we just give things for granted.  We get stressed because the meal is not exactly the way we want it, or we may get annoyed because someone took the little piece of that dessert we had our eye on...  How often do we stop and think of the greater picture: we have food, a stove with oven, a fridge, central heating; all of them are tokens of God's provision for us, and we are blessed to live in a time and place when and where we can enjoy them and share it with those we love.

Thanksgiving is a big word that means a lot of things for different people; some may even think it's only "turkey day." However, thankfulness is gratitude because there is some level of acknowledgement. 

So, when it comes to spend time with the kiddos that I can't share time with the rest of the year (and that somehow manage to get taller than me), it is about Crafty Bone to the rescue!

Card making with LOTS of glitter was on the menu...

 
And just to make it more interesting, we decided to play with glitter layering:


Beads and personalized jewelry weren't too far down in the list:


And then, with a million football games going on in the background, Yiya starts drawing this crazy looking thing with quilting patterns secretly hidden all over the place...  When FINALLY someone asked if there was anything wrong with my head (little does my brother-in-law knows how close to reality he is, hehe), I was tickled to death to explain everything I could about curls, swirls, feathers, lattices, echoes, loops, stipples and cathedral windows.

Then, the magic question: "So, how do you actually do it with the sewing machine?"

HA! Did I hear right?  Woohoo!!  Demo time!!  Dining table is then overtaken by cutting mat, fabric and all the paraphernalia...  I guess it won't be difficult to guess what happened next: a new FMQ practice piece!  Did anyone say anything about being "tickled to death?"


And here is the drawing that started it all:


And no, I'm not planning on duplicating the paper one - I only wish I were that good at it!  For the actual practice piece, I made a loosely marked rectangle with big loops inside. The loops turn into the perfect practice areas. Think of all those awkward corners or curves that are often hard to fill in; with the big loopy line, you can create the perfect practice piece that can help you learn how to continue stitching your FMQ and get the design into those tricky spots.

With all the excitement and the multiple creative areas going around, it was hard to take more pictures!

But the best part of this Thanksgiving weekend goes beyond the wonderful smells coming from the kitchen or even a bunch of touchdowns...  With no doubt, the best is being aware that our families are constantly blessed and that our needs are taken care of - God is good!

Have a blessed Thanksgiving weekend!


Nov 24, 2013

Nice discoveries: A coin well spent


Good morning everyone!  

Today, I'd like to share a nice discovery; this is basically when I find something really interesting in the web, related to some kind of art.  

This morning, my cousin shared this video, and I just can't stop watching it over and over again.  It is just amazing.

Besides the goosebumps and the excitement, it also makes me wonder about all the missed opportunities in our life and the wonderful consequences we may experience when we reach out to others. Yummy food for thought this Sunday...

Stay blessed!


Nov 19, 2013

A Charm-Hap 2

Just to commemorate that I am actually posting twice on the same week, here is Charm-Hap finished!


It was a beautiful afternoon in The Hill, perfect for picturing the colors and the textures...


There is another picture of the quilting in my previous post, but it was a smaller section. The sashing ended up with a herring bone design, and the border has a loopy design. Just like with the border sections, I wanted to have a similar kind of design, but with different angles.  


I was smiling when I was finishing this mini; it was very exciting to see this particular UFO turned into something nice - in fact, I like it so much that I'm having trouble with the idea of giving it away!  I hope it brings happy thoughts to the ones that will use it.


And the best thing of all is that it goes well with the gorgeous pear tree in the yard!  With no doubt, God is the best artist of all!


Nov 16, 2013

A Charm-hap (a.k.a. Happy Happening)

One of my first discoveries after getting my sewing machine for Christmas two years ago, was pre-cuts.  I had always worked with yardage back home, or with the big scrap fabric that the fabric store would sell because the left over fabric was under a yard.

I came across an internet sale offering a beautiful charm pack for under $4.00 dollars; sounded great!  When I got the charm pack, I realized it did not have enough fabric for what I had in mind, so I ordered a second one... It was still the same price, which was good, but I did not like the effect, which was not good.

I kept hearing in my head a little voice encouraging me to go on because every single pattern and color in a charm pack would go well together, as long as all the patterns and colors stayed together.

(By the way, in case you are not familiar with the terminology, a charm pack is a set of 5" X 5" squares of different fabric belonging to a collection - kind of a sampler.) 

I could see the pattern/color deal, but I was not satisfied with the result, and started to experiment with placing, sashing, borders, and just could not find anything that would make it look good in my head... It seemed that everything else that I put together - that did not come in a charm pack - worked way better for me.

Today, however, I am in need of finding unique gifts, so I decided to dig this UFO from the corner and see if I could put something together; after all, there is something so special about a hand-made gift! 

Somehow, it all started to make sense... lol  The poor little charm converted into improv pieced stripes - bless its little heart, hehe - waited just under two years to get some attention.  


When I saw it together today, I was still not happy with the look of it.  But you know me, if I have scraps, I'll put them to good use!


I have (yes, there are still scraps left) an array of different scraps, and was not sure of the effect I wanted.  In the next picture, you can see, from top to bottom, pieced stripes, 4x4 patches, improv pieced stars and pieced pieces of irregular shapes.

With that first experience two years ago, when I realized how much fabric is used in the seams, I decided I was going to use the scraps, and put all of the pieces together in as many ways as I could- now I'm not sure it was the best call, but I'll just deal with it!

After trying several combinations of the shapes I had, I decided to use the 4x4.  Like that, I'd be able to create a middle stripe that would be a good "bridge" between the outer stripes, without making the overall design way too complex.


Here is the middle stripe pieced together.  I liked that it sort of blends with the straight pieces of the sides without taking away from the improv stars.


And here it is with the sashing, made with a fabric I picked up at a craft store when it was on sale. I was not completely certain it would go with this collection, and was a bit concerned of adding yet one more pattern, but the final look is not that bad...


The more I worked with it, the more I liked it...


And you can see the quilt right after I finished stitching in the ditch to secure the pieced top to the quilt layers.


Once I set a quilt in the machine, it is so hard to just leave it there and not start quilting - this time was not the exception.

I decided to go with a pointy feather for the middle piece.  I went for a combination of textures for the sides: stippling for the improv stars because of the heavy piecing, and lines with sharp turns (think of a triangle loop chain) for the rectangle/square mini block.  I thought the open stipple would allow me to FMQ without much difficulty around the heavy seams and that the sharp turns will mimic the shape of the stars.

I finished only one side and the middle; here is where I'm at right now:


The results are quite pleasing!  Not bad for a recycled piecing experiment that hadn't seen the light for at least something like a year and a half, huh?  Great score!

Now it is my Wheels that will be kept in that little tote for a while.  It's OK...  Sometimes finishing a quick quilt brings some kind of refreshment that just encourages me to go on and make one more!


Nov 11, 2013

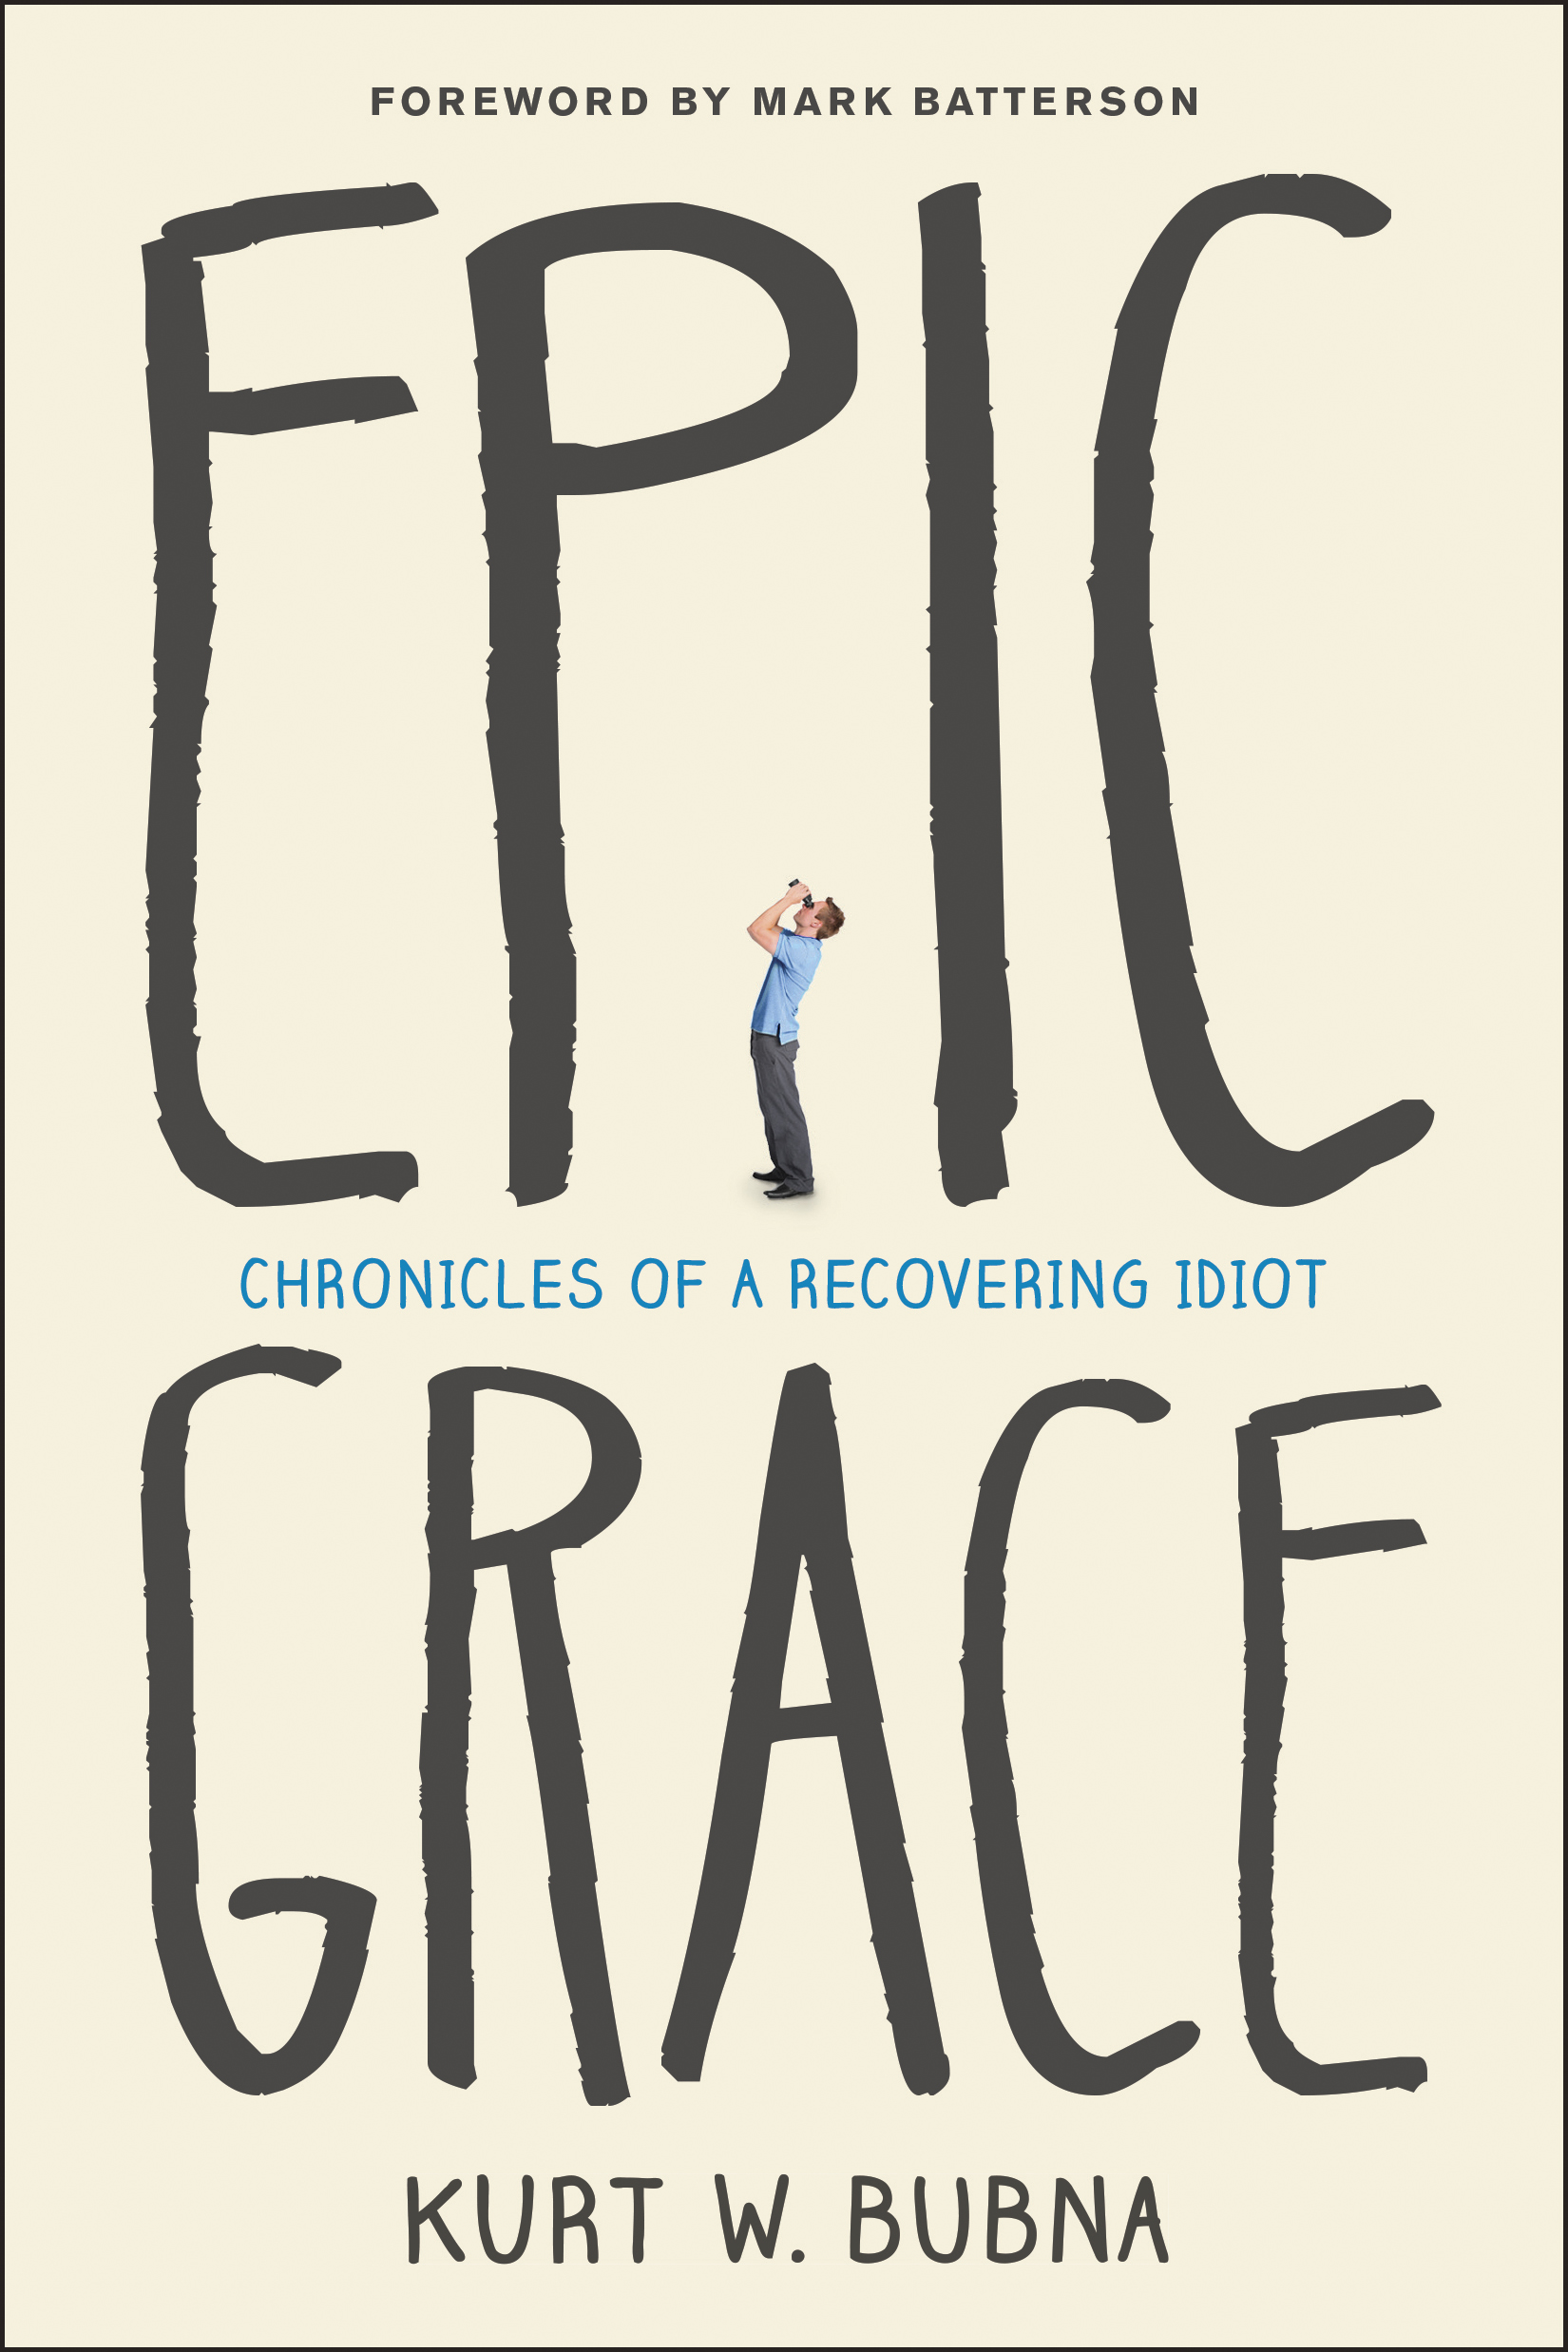
Epic Grace, by Kurt Bubna


With that subtitle, I had no idea what to expect from this book...  

God loves you, just because - this is Epic Grace in a nutshell. A practical, non-nonsense way of reminding us that God is always present and that we can actually come close to Him in every circumstance, only if we allow ourselves to follow His voice, rather than feed our independence - our idiocy - and fail over and over again.

How often have we felt that we can do more that what we are currently doing? How many times have we been told that we have to behave in such way, complete all of these courses in church or even not shed tears at the loss of a loved one?  Yes, all of these are expected "christian" responses to every-day life occurrences; however, responding differently and just being a tad human does not imply that we fall away from God - it's just the opposite.  It is during these hardships and confusing learning periods that God talks to us and shows his magnificent grace towards us.  

Mr. Bubna reminds us that it is God's love and grace poured towards us in the most unexpected and difficult circumstances what shapes our characters and minds.  It is also His grace that shows His patience with us and gives us the opportunity to stand up after falling, learn and overcome.  He is the one that transforms trials into blessings and guides our steps back to Him when we are lost and overwhelmed by circumstances. It is all about God's epic grace opposing hopelessness and winning each time!

And just in case you have been lectured and lectured time and time again about all your shortcomings, don't worry!  Mr. Bubna is just like your next-door friend, with whom you can spend endless hours laughing about life and praising God for all the GRACE showering and even tempesting just to keep you in the path of hope.

This is a profound, yet easy to read book - be prepared to take a deep plunge and savor life's ups and downs and stay afloat with the author's goofy and thought provoking experiences that will constantly remind you of the hope we can have in God!

But maybe... just maybe... you would like to hear the author telling it all - and just because I am actually getting along with this blog post and embedding videos successfully...  Here is Mr. Kurt Bubna; please allow him to share his experience and wonder together at God's marvelous love poured out towards us:


The following are links to videos where you can watch the author addressing topics discussed in the book, just in case your interest has been tickled and your heart is longing to hear more about God's EPIC grace:


I received  a complimentary copy of "Epic Grace" from Tyndale Book Publishers, in exchange of an honest review.  This has not biases my opinion on the book or the author.


Nov 10, 2013

The day of the failed everythings...


A while a go, I decided to make a quilt with a special meaning and opted to use the gorgeous flowery fabric that reminded me of Van Gogh's Terrace...  It is going to be my Wheels quilt, the first one I make thinking of what the shape represents, not focusing only on a certain technique, as I have done before.

Well, I decided it was about time to finally give some attention to the fabric I had cut...  So here it is, in HST and other units freshly pieced for my Dutch Rose (or Swoon) Wheel, according to the instructions in Candace's blog:


So, the moment of truth comes, and... I don't like it... I want to pick more of the blue in the center square, but the solid blue is way too contrasting.  


This is weird; I generally like this, but this flower fabric (a kind of print I don't use often) is just messing me up!  It is so delicate that this particular blue solid is clashing and is definitely not the effect I was looking for...


Dutch Rose block: Failed.

I can see an appointment with the seam reaper some time soon, followed by a hunt in my stash for another blue...

So, the first one of the day did not work quite as I would have liked, and it's time to work on a quilt for a great friend who loves horses and thinks of herself as a Stable Rat... hehe.  She makes me laugh, but she is happy happy when she is with her horseys.
Anyway, she wants something maroon, grey, lavander and eggplant.  When I read her e-mail, I just couldn't put those together in my head... I run and get my color wheel and... blank.  I run and get my color chart and... something is not working.   So, I get to spend quality time with my color chart and find the values that would work together.  During my recent trip to Branson, I spotted fabric on sale, and immediately got it for her.

I found a print that will work as the accent fabric, and worked my way around the spools of fabric on sale...  Great!  Now, my dear friend mentioned something like "cheery," so I got the perfect contrasting fabric to cheer things up!

Although the colors are now working, my crafty bone is having issues picturing blocks, and I decided to make an improvisational block to have all the fabric together and audition its value.  So, I make strips of different widths and proceed to take lots of pictures, just to find out that the colors are not showing in them...

After trying regular light, lamp light, window light, sun light and even cloudy sky light, here are the best shots... (sigh...).


And here is the print that is allowing me to bring everything together:


Pictures for the blog post with accurate colors: Failed.

This is kind of what I saw when I bought the fabric, encouraged by the salesperson who said people seldom thought of this combination, but that it would be pretty "if you know what you're doing, you know?"  Encouragement aside, I can see how these little stripeys will work together...


But wait a minute!  Did anyone say anything cheerful?  So here they are, with a strip of the contrasting fabric.  Looking nice, huh?


I am turning these into an Improv Block, as you can find on Elizabeth Hartman's Oh, Fransson!

An after sewing some of the strips together, considering that for some whatever reason the colors cannot show as they actually are, the following pictures are what I've got so far.

The next one, is just with regular lighting, with no editing:


And knowing I just can't get it right with color, I decided to have fun instead of getting frustrated, lol.  The next one is with the auto-edit feature:


Editing pictures: Failed.

And looking more neon-ish than real life, here are all the fabrics with the contrasting strip (drumroll, please...):


I just hope that my dear Stable Rat is squeaking out of giggles at my inability to produce decent pictures - I promise it looks better in real life!!!  :)

And just because it can be done, here is yet another picture with failed colors and nice perspective, to remind me of my drawing classes in Junior High... 


Have a wonderful and blessed Sunday!


Oct 20, 2013

Where did the scraps come from?

By now, you have probably seen several posts here about quilting with scraps.  But, where on earth did they all come from?  Believe me - I'm not buying fabric to cut it in little pieces.  I refuse to throw away scraps, just because there is something beautiful and unexpected (and generally cheap) that can be made with them; you just have to to flex your crafty bone and get it going!

Practically all of the scraps came from my very first quilting project - kind of.  My in-laws moved to a new house and they had been hunting for a cover.  For some strange reason, their washer and drier are in the kitchen, and they were wanting to cover them. One day, my mother-in-law mentioned that she wanted something red. So there goes me, the one that always gets in trouble by attempting to make something new, exploring how to make something different and spend some time creating.

Mr. Fuzzband and I started talking about it, and I found out that there are quilt blocks that represent each of the states in the US.  Yes, I found out - I'm fairly new to quilting, and it was like a gold mine kind of discovery.  I wanted to quilt something with Georgia and Ohio, where my in-laws were born.  Mr. Fuzz suggested something like, why not make something that shows all the states they've lived in and their time in Japan as well...  Cool idea! Sure! And who's going to research and make all of that... Yep, you've got it!  Me!!  

So, here is to "A life time together" or "A memory quilt in the laundry!"


I even made a "map" with the name of all the blocks, so that they could identify the different states and it is also my reminder of the different techniques I used. We called it M & B's brick road...


These are what started it all:  Ohio and Georgia! 


Although I like the look of busy prints, I prefer to make blocks with fabric that allows the eye to "rest." That is why I used chunky frames around several blocks in this project; this also allowed me to have a sort of common denominator that unified the project, despite the variety of fabric prints.  By the way, we really wanted to include Japanese fabrics, and the one that make our jaw drop was the black one with the fans - all the other fabrics were selected around this one.  It is absolutely gorgeous!

For some reason, this little fellow decided to cling to the window and he stayed there for days... Nice quiet audience!  lol


I obtained most of the state block patterns from  Bella Online's US State Quilt Blocks site. This is the Florida block; it is paper-pieced, and you can find the pattern by clicking on the link above.


The next one is Nebraska. This took me a while to piece, but I obtained a lot of extra half-square triangles that I used later in a little block to fill in the spaces and make even rows.


This is the Barbara Fritchie block.  I got the instructions from Crafty's class Re-piecing the Past, with Kaye England. Also, I used a strip of my Paper-pieced block to even the shape and make a straight end.


The next block is New Mexico.  I was not able to find instructions that I liked anywhere at the time...  Now that I look back on this first quilting experience, I must also say that I was not familiar enough with all the terminology and techniques, so I may be able to find something that I can understand now and that will satisfy my crafty bone.  I ended up drafting it myself.  Now, this block has an eagle in the middle, but I decided to applique a circle.  It ended up being much smaller than what I wanted it to be, but I used chunky pieces of fabric to frame it and obtain the size I needed.


The next block is "Road to Oklahoma."  It is one of the first I made, and I was very happy to see that all the seams matched and the shape could be seen. I just had to do something different, and I used two different fabrics to offset it.  It ended up pretty neat! 


The next block is "Kansas Crossroads."  I had to follow a picture, and I decided to snowball all of them.  The great thing about this is that I ended with a lot of extra scraps and half square triangles to use in other projects!


M and B also spent about 24 years in Japan as missionaries.  It was really important to include this part of their life in this project.  After trying to find blocks to represent this county and its culture, I decided to use applique circles and an adaptation of Dresdens, to reminisce about the rising sun that is also part of the Japanese flag.


The following section is one that I'm really proud of.  As in many other occasions in this project, this was my first time trying foundation paper piecing.  In the left, there is a circle of geese; well, it's kind of two halves of a circle on top of each other.  I used Piece by Number's Circle of Geese paper-pieced block.

For some reason, I also wanted a block that would point to the beautiful art of origami, and the paper cranes is what I wanted.  I kept looking and looking in different places, and I ended up creating my own.  I essentially took a picture of an original origami piece and started to play with the computer.  I essentially inserted lines on top of each fold; I cut out the picture and only the lines were left.  It was kind of tricky, particularly because I did not leave any room for seam allowance; however, I was really pleased with the result.  So, my "window of cranes" lives now happily next to the geese... 


After mishaps, misreadings and patches, I had a bunch of scraps.  I guess this was the crucial start of my fond for not letting them go and experiment with the little pieces left behind...  The one in the left is my Pieced strip block and the one in the right is an improvisational log cabin block.  I ended up using a lot of the background fabric, and I think that the log cabin effect was lost in the end.  I did like the outcome, though.


The following is a diamond block made with the half-square triangles that were left from the Kansas block.


I did not really made a quilt - I did not use any batting.  I basically quilted in the ditch around the main shapes of the blocks and the "frames."  I used a plastic fabric that has fleece on one side of it.  I also used this fabric for the binding.

Looking back at it, I can think and see all of the mistakes I made; I know where the seams are uneven, where I should have used more fabric, where the points don't match, where I skipped stitches, where a frame is missing...  I'd better stop there!  However, I'm glad with the overall result, particularly being my very first sort-of quilt!  

I did get my living room back after everything was put together...  lol.  I just had to take a picture of the work in progress...  :)  It didn't last long, hehe. 


These covers were also a special way of processing the fact that my in-laws have been used to bless many people in different areas - they have ministered in churches in all of the places where they've lived in; that's why there are so many blocks in these covers!

I'm not sure whether this would qualify as a memory quilt or not, but I'm certainly thankful for having them and for knowing that God always uses someone to take his blessings where it is needed.

And how about you?  Have you ever made a memory quilt?  What do you like to create in order to reminisce of special moments?  

Happy memory-sort-of-quilting!  :)